Login
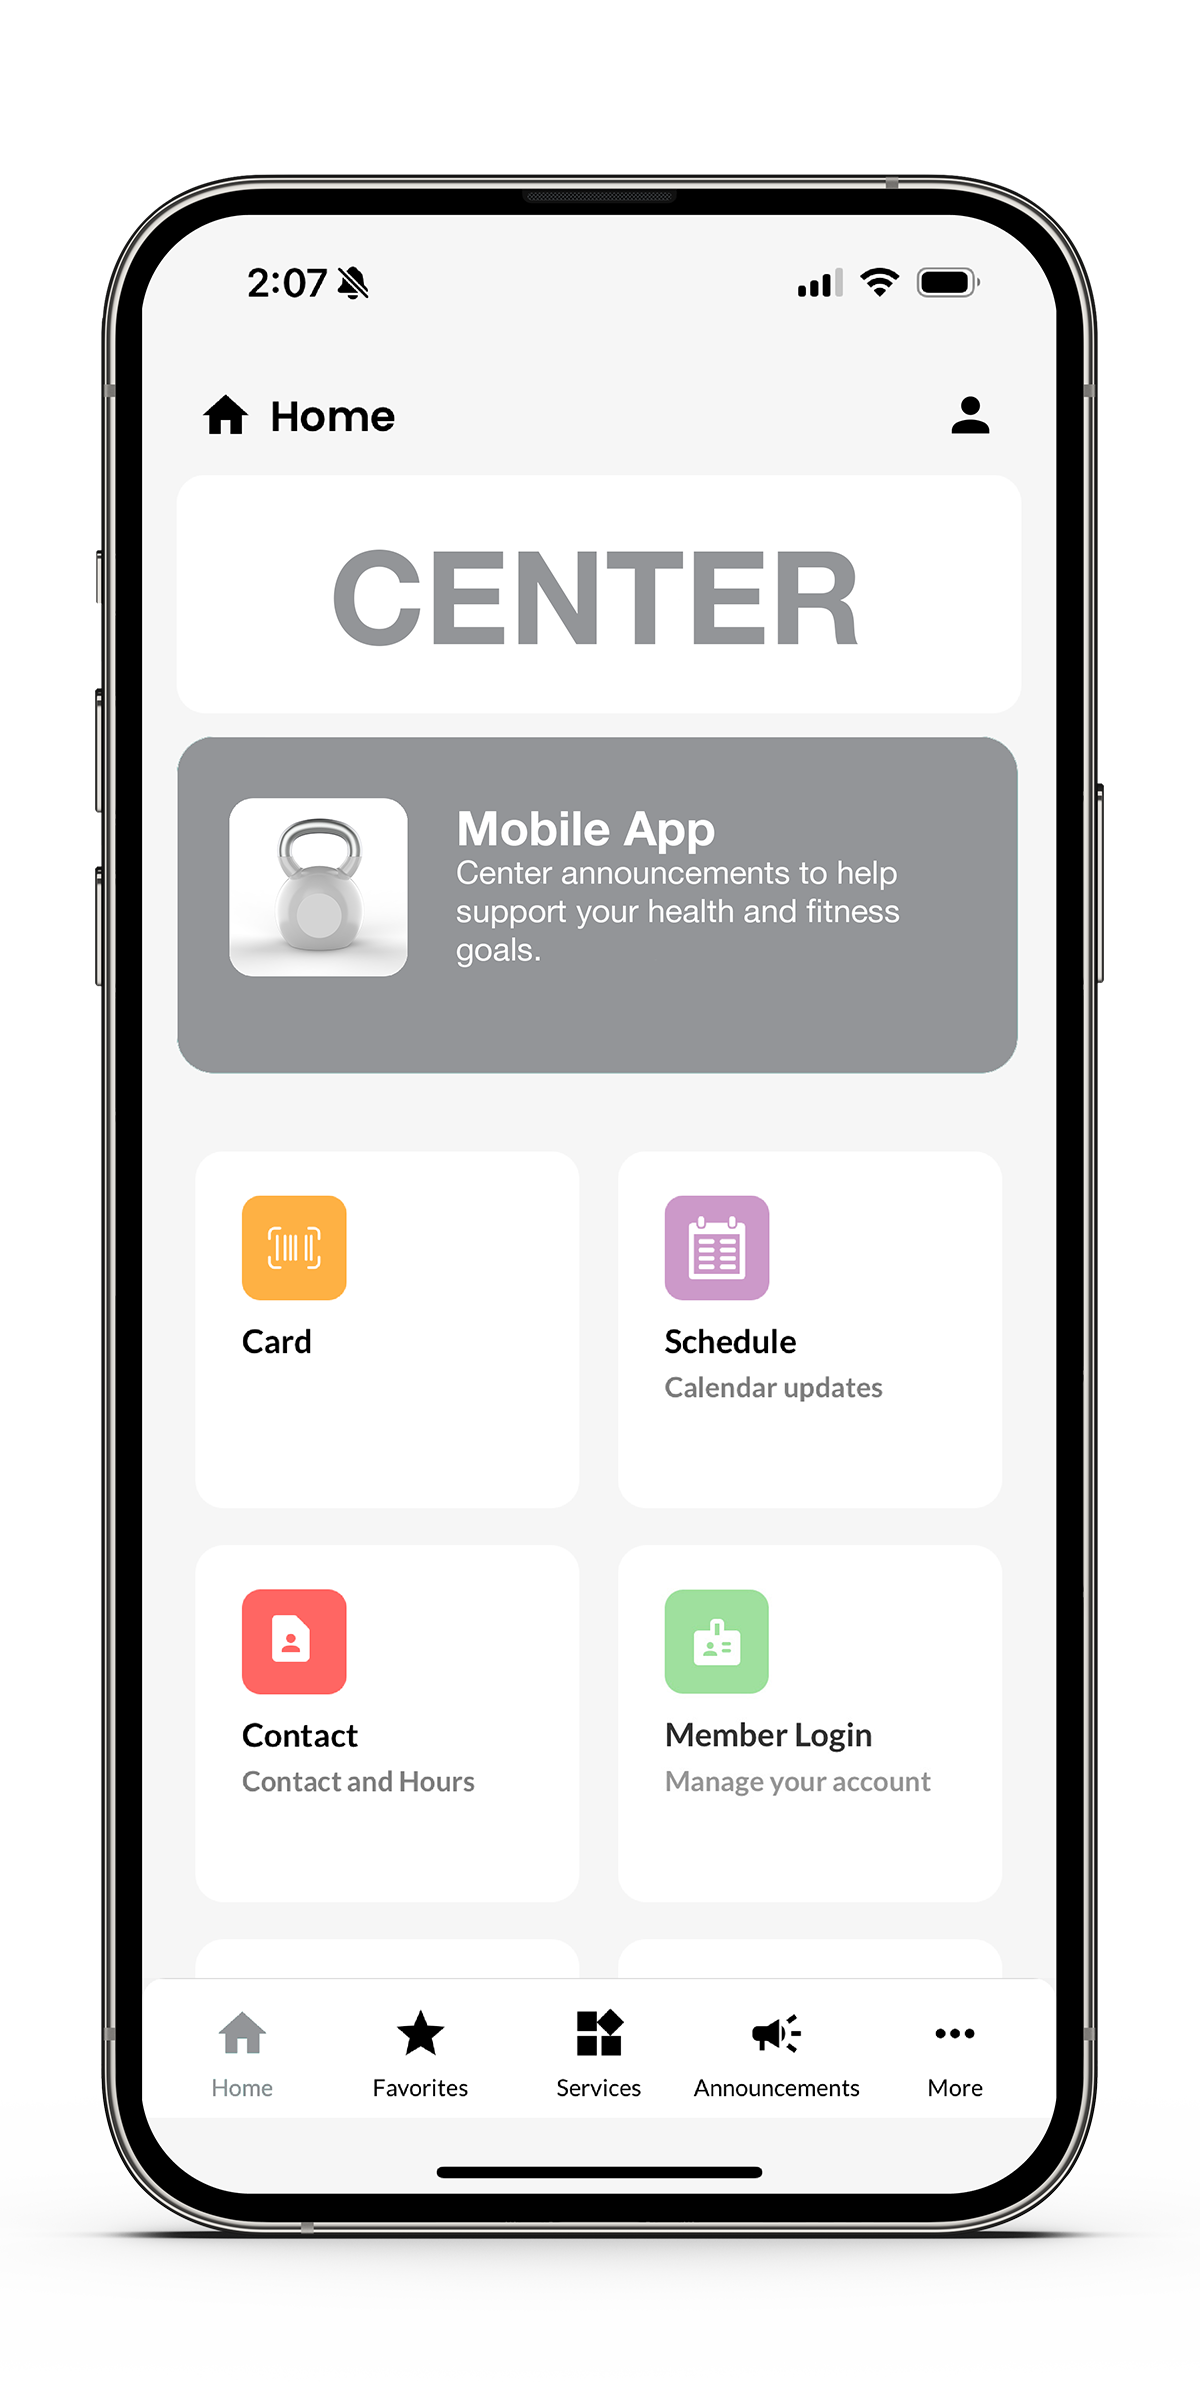
Step 1: Tap the person icon in the top-right corner of the screen.
Step 2: Enter your login credentials (email and password).
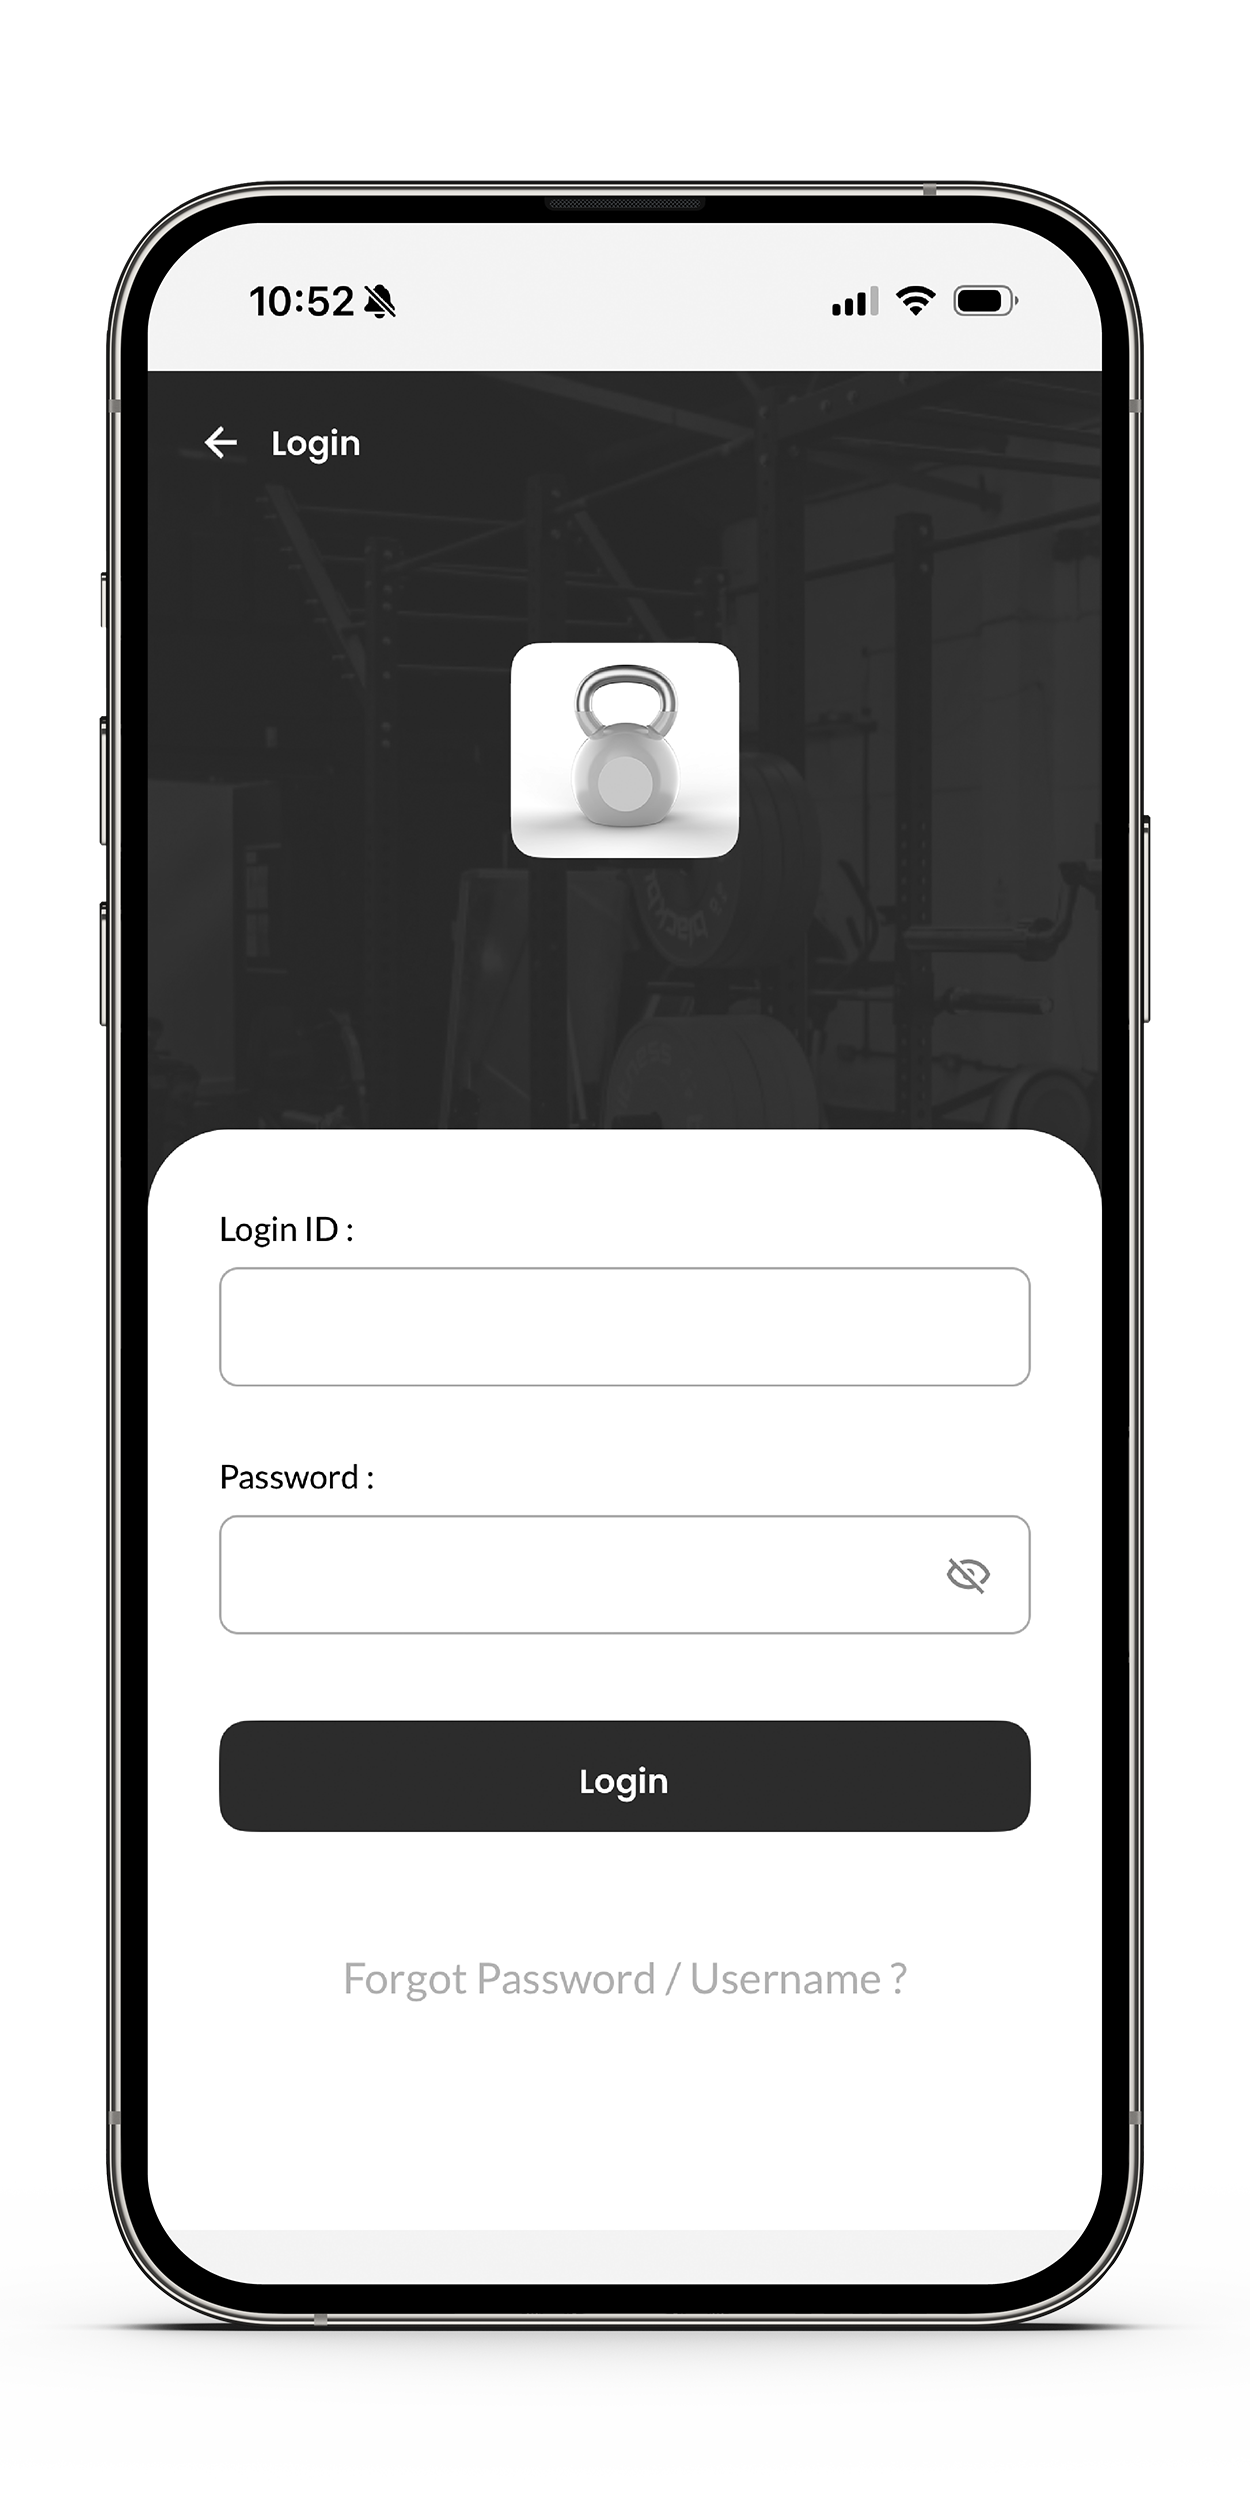
Step 3: Tap “Login” to access your account.
Step 1: Tap the person icon in the top-right corner of the screen.
OR
Step 1: Tap “Member Login” (green icon).
Step 2: Click on the “Forgot Password” to reset it.
Step 1: Tap the person icon in the top-right corner of the screen.
OR
Step 1: Tap “Member Login” (green icon).
Step 2: Click on the “Forgot Password/User Name” to reset it.
When you join the center, you’ll receive two emails to help set up your online member account:
Email 1: “Welcome to your online member account!” – This contains your Username, which is your membership ID or card number (for first-time users).
Email 2: “Password Assistance for your online account” – This includes a password reset link. Note: the link is active for 24 hours from the time the email is sent.
If your password reset link has expired, please follow these steps to re-set your password via a Password Recovery email:
- Open the URFitApp
- Tap the Member Login tile
- Tap Forgot Password
- Enter your Username (membership ID/card number for first-time users)
- Tap Reset Password
- A Password Recovery email will be sent to the email address on file
Facial Recognition allows you to securely log in to the mobile app and access other app features without entering your password each time.
To enable Facial Recognition during your first login:
- Before logging in to the mobile app, make sure Face ID is enabled in your phone’s settings.
- Log in to the mobile app for the first time.
- When prompted, select Allow to enable Face ID.
If you did not enable Face ID during your first login and would like to enable it later:
- Uninstall the mobile app from your device.
- Reinstall the app from the app store.
- Log in and select Allow when prompted to enable Face ID.
General
Step 1: Tap the “Contact” icon (red box with contact image).
Step 2: View the phone number, email, and hours of operation.
Step 1: Use the bottom navigation bar and tap on “More”.
Step 2: Select “Announcements” (megaphone icon).
A red banner (notification dot or number) on the APP icon means there’s a new message or update for you.
✅ How to check it:
Step 1: Use the bottom navigation bar and tap “Notifications” (bell icon).
Step 2: View any notifications or messages related to your account, classes, or events.
Once opened, the red banner should disappear unless there are additional unread notifications.
Tap "More" > "Report Issue" and fill out the form to send feedback or report bugs.
Tap the "Schedule" icon on the home screen or in the "More" menu. View calendar updates, class times, and events.
Tap "More" > "Tell a friend" to share the app with others.
The app currently supports the following languages:
-
English
-
Spanish
Please note: Only the in-app content (menus, labels, schedules, fitness assessments, etc.) is translated. Any third-party or external content (e.g., compete) will remain in its original language.
-
Open the app and tap on the More (...) in the bottom corner.
-
Select Settings from the menu.
-
Tap on Language.
-
Choose your preferred language from the list and click on Apply.
-
The app will reload with the change.
Yes, you can. Here’s how:
Option 1: From within the app
-
Open the app and tap on More.
-
Go to Settings.
-
Find the Push Notifications option.
-
Toggle it on or off based on your preference.
Option 2: From your phone settings
-
Open your phone’s Settings.
-
Go to Apps or Notifications > find and select the app.
-
Tap Notifications.
-
Toggle Off to completely disable push notifications from the app.
Step 1: Use the bottom navigation bar and tap “Notifications” (bell icon).
Step 2: Browse current center notifications including facility updates and more.
Our app now supports Android 10 and above only. Devices running Android 9 or earlier are no longer supported, regardless of the device model.
Our app now supports iOS 17.X and above only. Devices running iOS 16 or earlier are no longer supported, regardless of the device model.
Card
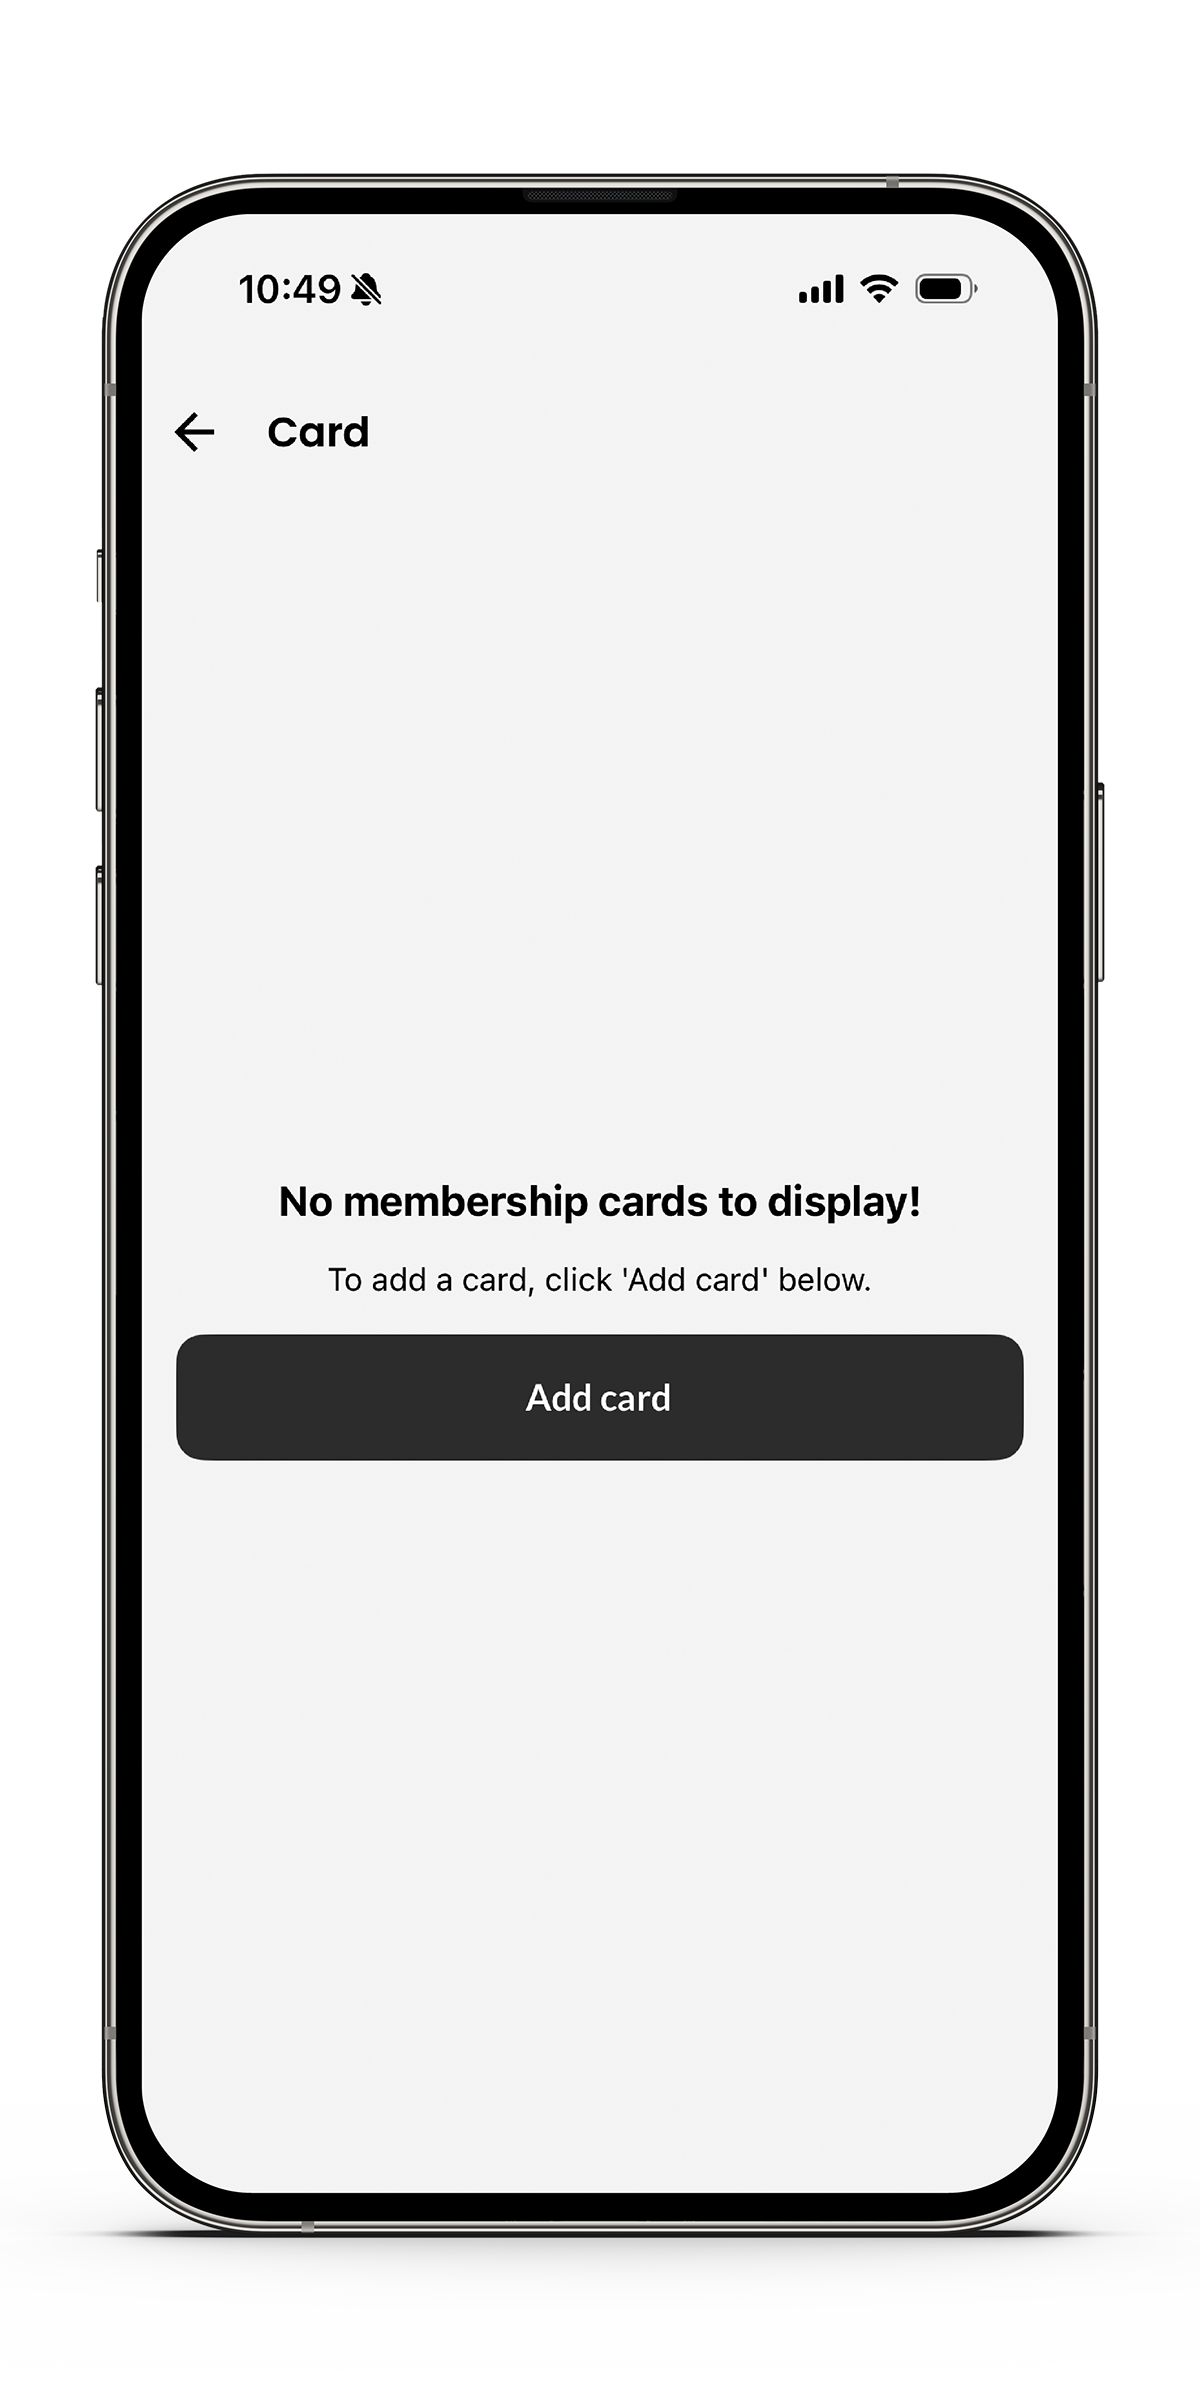
Step 1: From the Home screen, tap the “Card” icon.
Step 2: Tap the “Add Card” button.
Step 3: On the Add Card screen:
• Scan your barcode using the top-right QR icon, or
• Enter the barcode ID manually (found below the barcode on your physical card).
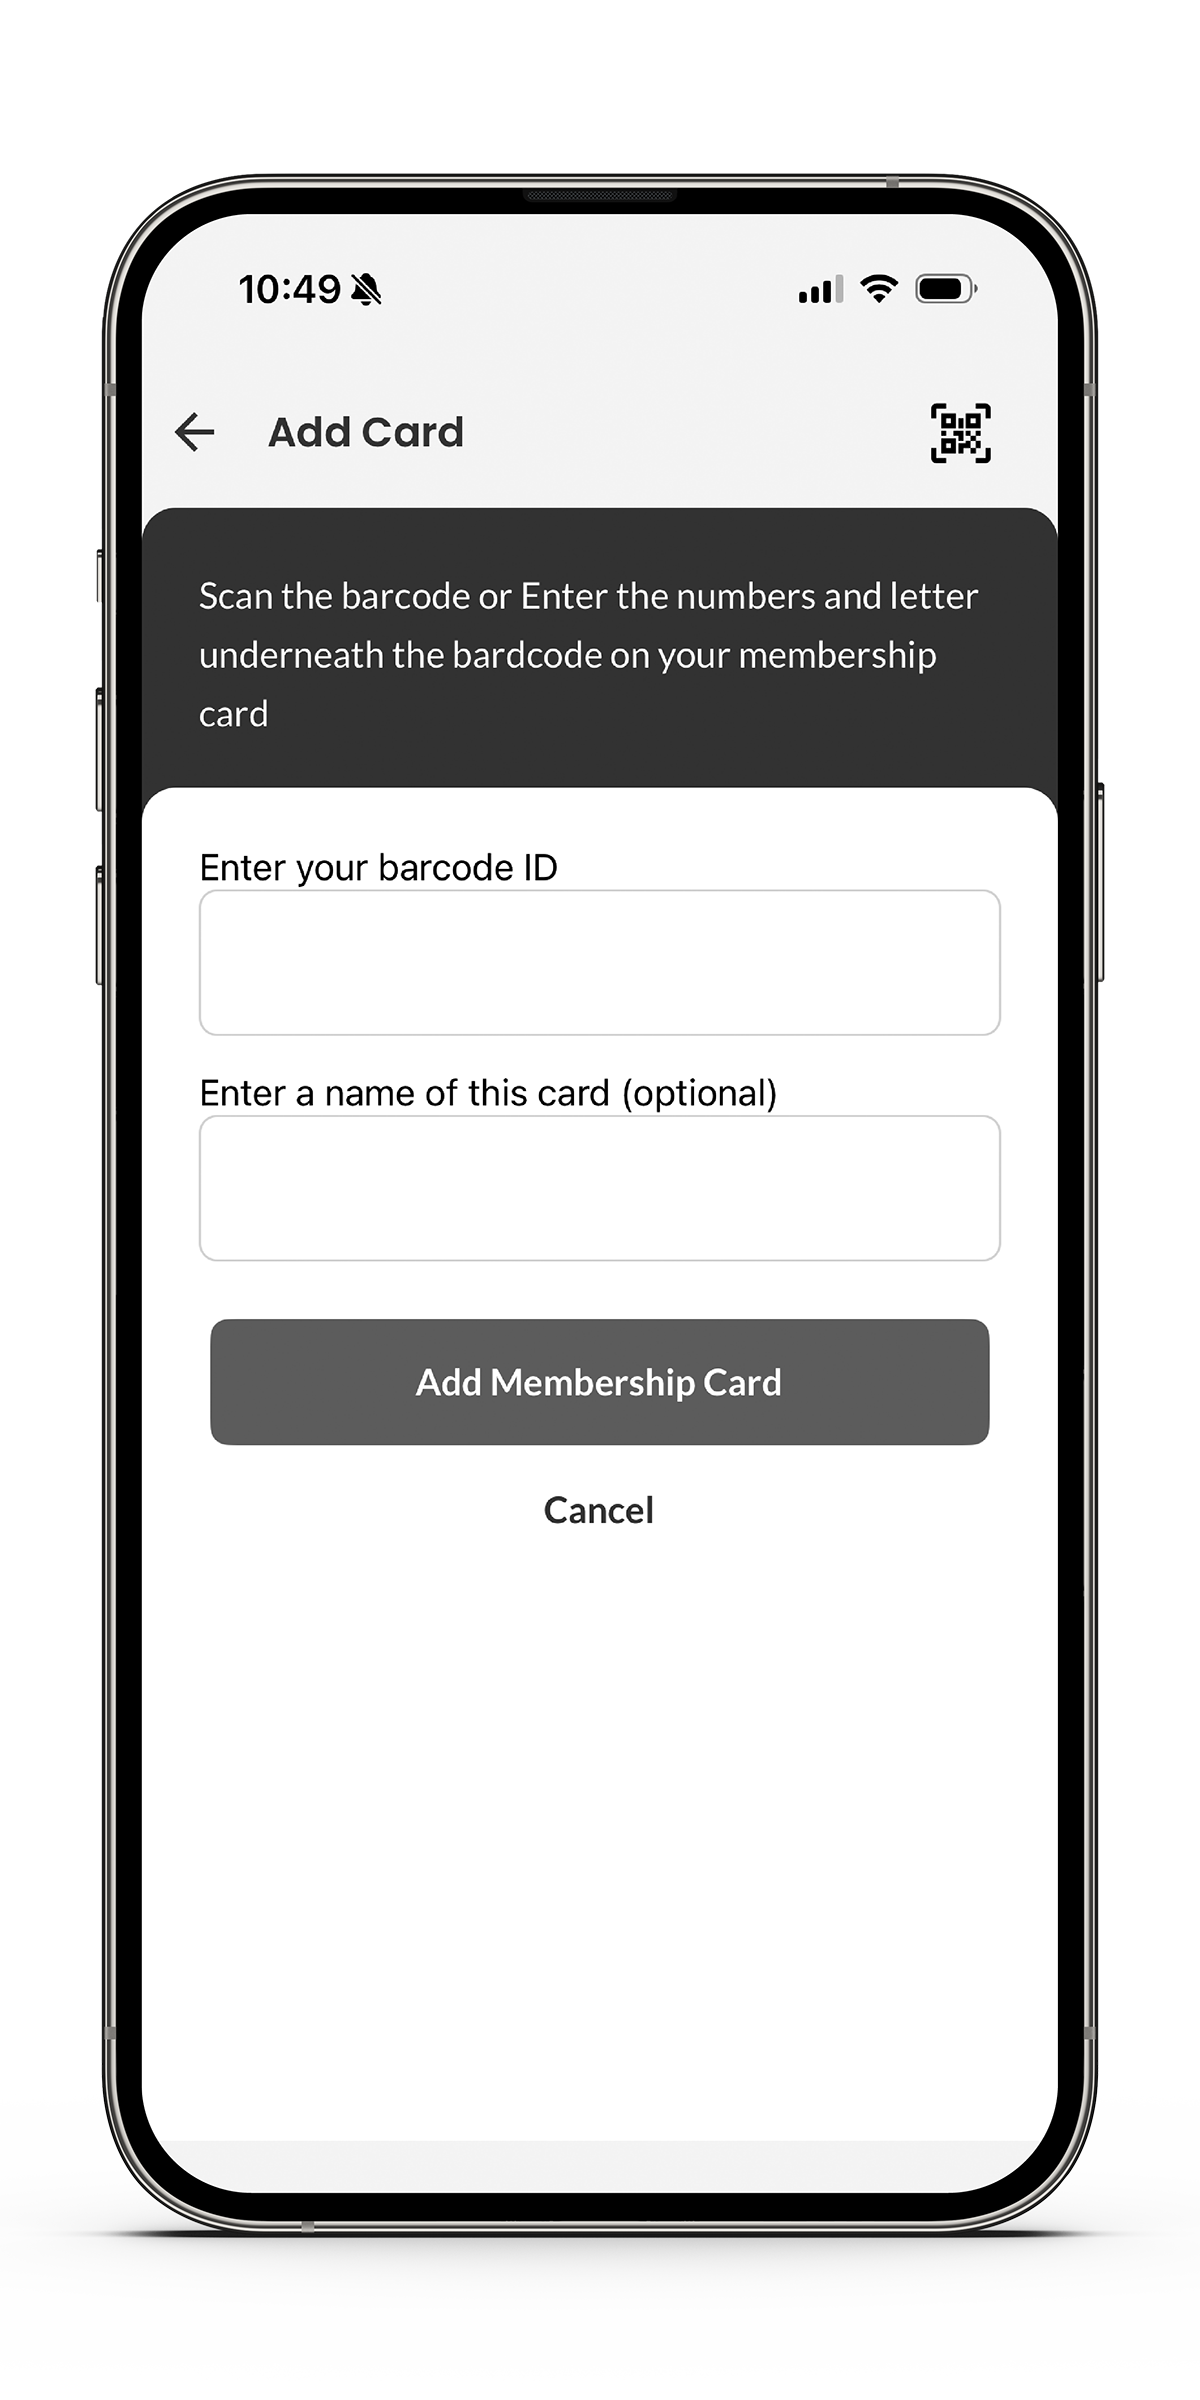
Step 4 (Optional): Enter a name for the card (e.g., "My Gym Card").
Step 5: Tap “Add Membership Card” to save it.
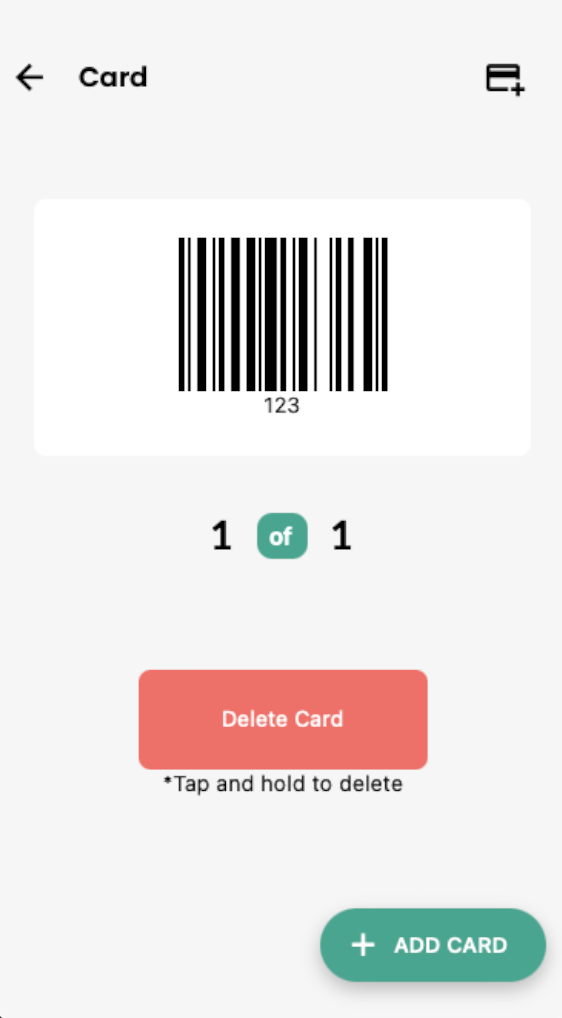
Once your card is added or once you logged into the app:
-
It will show as a barcode on the Card screen.
-
You can swipe if you add multiple cards (e.g., family members).
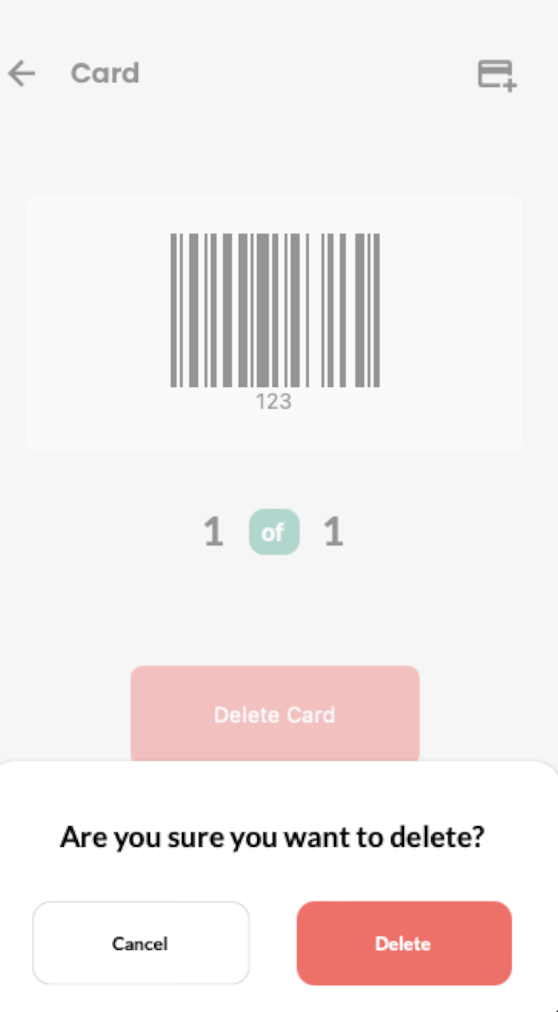
Step 1: Go to the Card screen.
Step 2: Tap and hold the "Delete Card" button.
Step 3: Confirm deletion when prompted.
Currently, editing a card's name or barcode ID isn't supported directly. You’ll need to:
-
Delete the existing card, and
-
Add it again with the updated info.
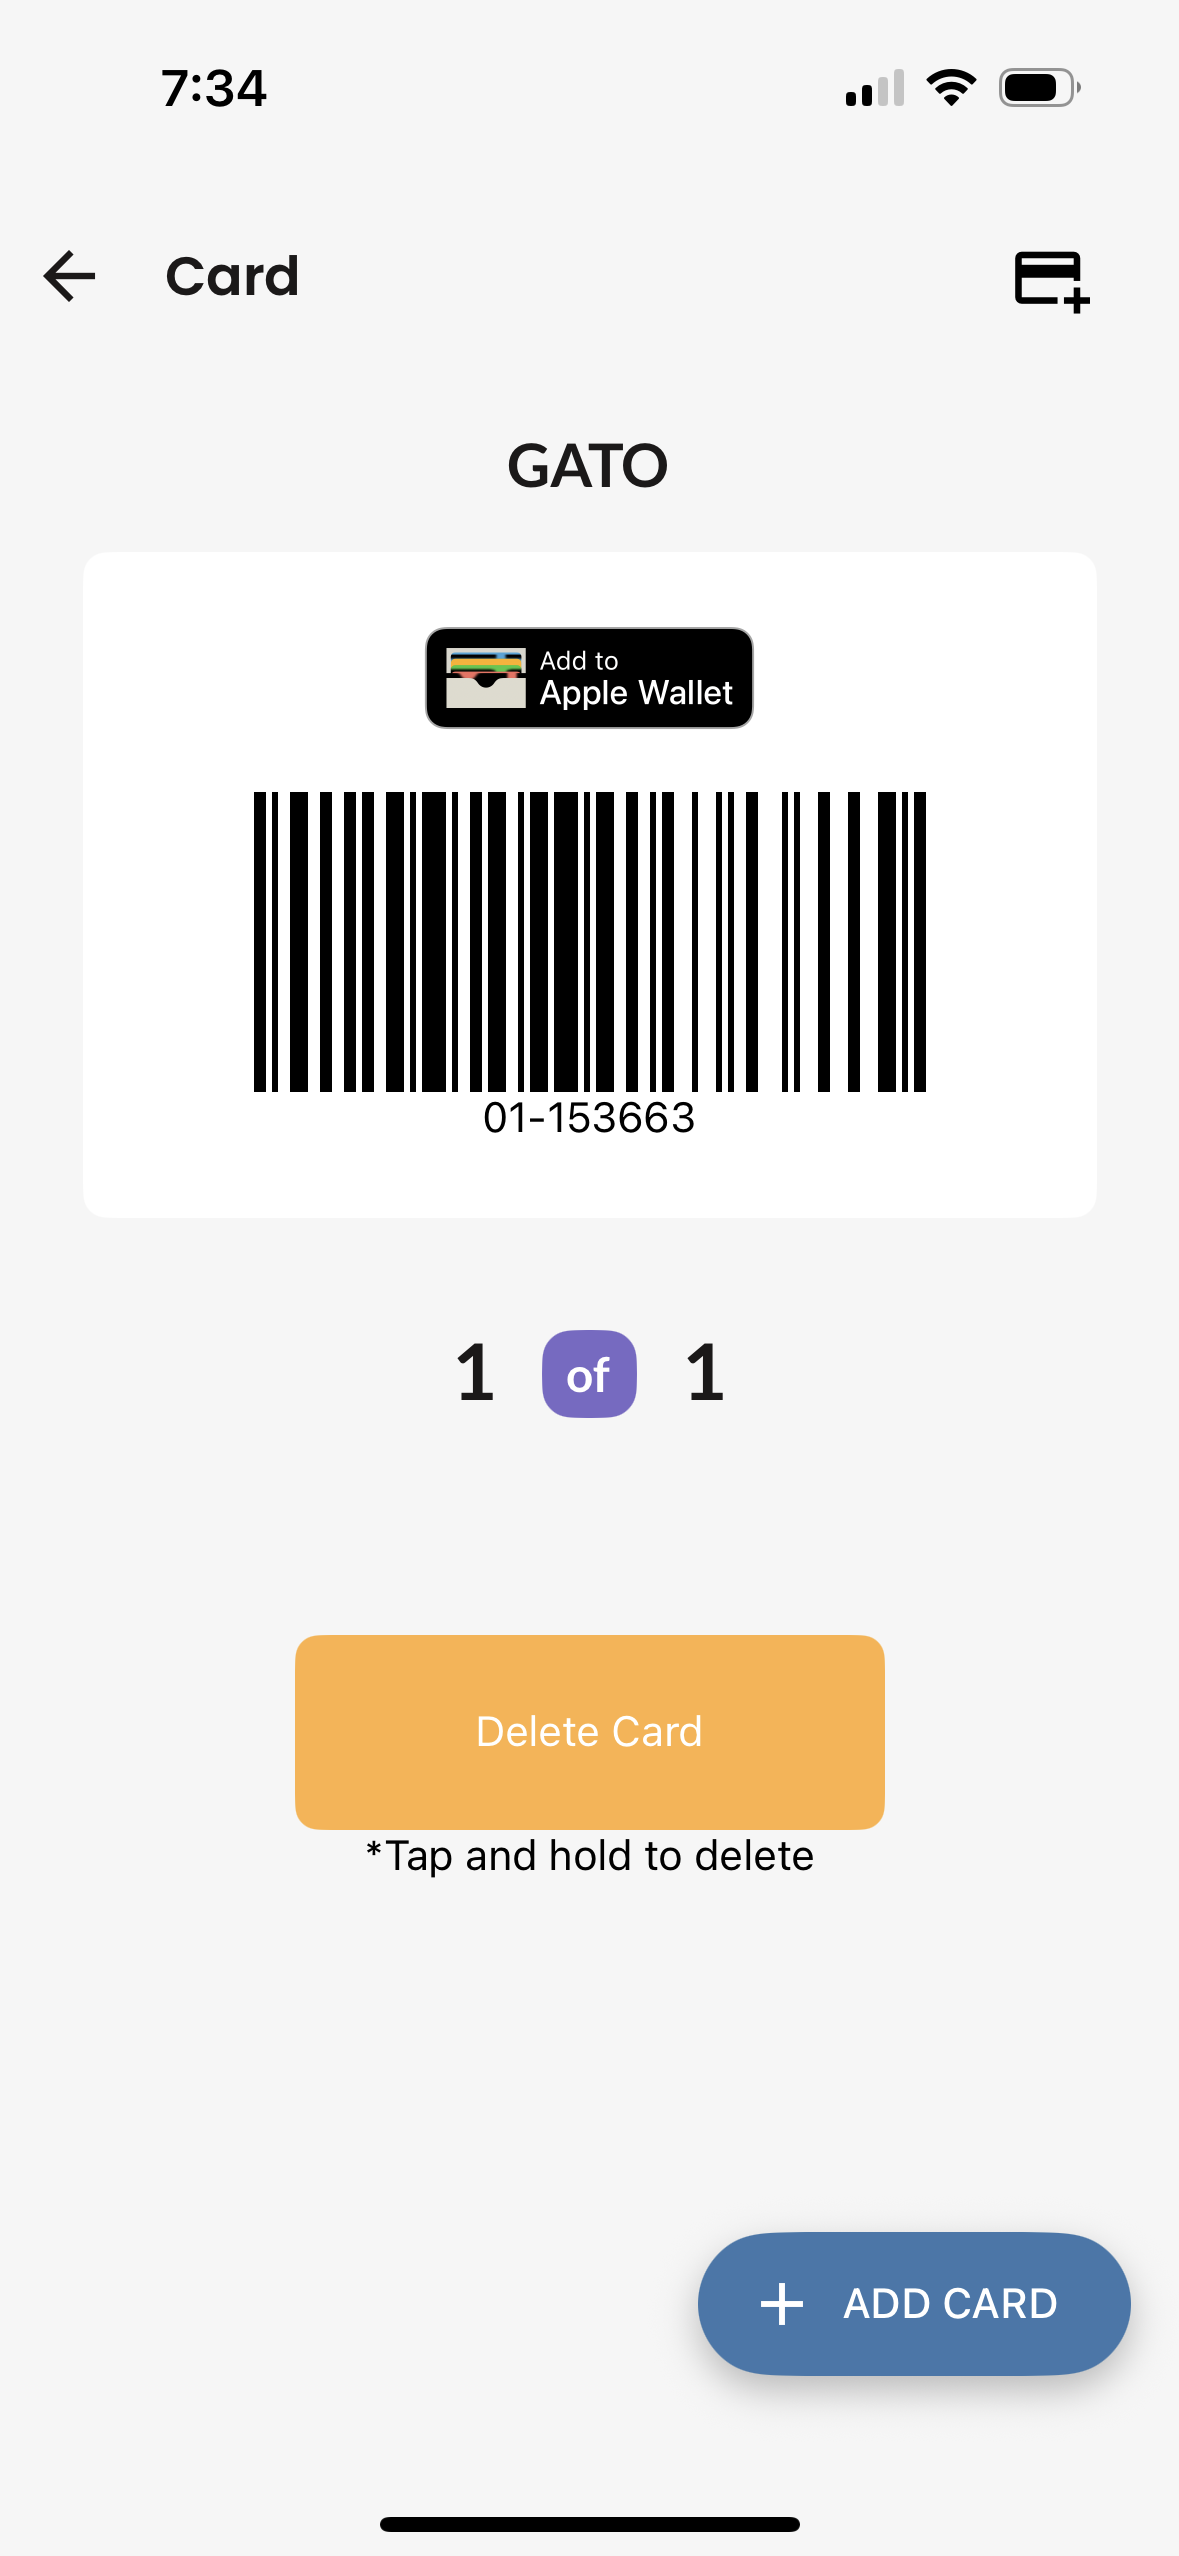
It stores your digital membership barcode for easy check-in.
Step 1: Go to the Card screen.
Step 2: Select "Add to Apple Wallet" or "Add to Google Wallet" depending on the type of device you have.
BodyScript
Go to the Fitness Assessment section — by default, the Dashboard tab is selected. The most recent scan details, including weight, body fat percentage, BMI, and more, are shown at the top.
To view the detailed report of that scan, tap on the line that says “Last scanned on [Date]” inside the top box.
-
Go to the Fitness Assessment section.
-
By default, you’ll land on the Dashboard tab.
-
Tap on the History tab at the top to view your progress charts.
-
Use the date range filter to view trends over:
-
1 Week
-
1 Month
-
3 Months
-
1 Year
-
All Data
-
-
To change the metric displayed (e.g., Body Weight, Body Fat %, BMI, etc.), tap the dropdown or toggle near the top of the chart.
-
The graph will update based on your selection to show trends specific to that metric over time.
-
Tap on the Fitness Assessment section from the home screen.
-
Go to the History tab at the top.
-
Tap the Export icon (cloud with arrow) on the top right corner.
-
In the popup, tap Download Report.
-
Your reports will be saved to your phone’s file manager.
- (Optional) To share the report with someone or save it to your email, open the file from your file manager and use your phone’s Share option to send it via email or any other messaging apps.
Depends on your login status:
-
✅ If you're logged in:
Your data is backed up to your account. You can uninstall the app or switch phones and still retrieve your data by logging back in. -
⚠️ If you're not logged in:
-
Uninstalling and reinstalling on the same phone: Your data remains intact.
-
Switching to a new phone: Your data will be lost, as it is not linked to any account.
-
Best Practice: Always log in before using the app to keep your reports safe across devices.
-
Go to the Fitness Assessment section.
-
Tap on the History tab at the top.
-
Locate the date range filter (usually near the top or side of the scan history list).
-
Tap the filter and select "All Data" from the available options (e.g., 1 Week, 1 Month, 3 Months, 1 Year, All Data).
-
Once selected, the screen will refresh and display all your past scans.
✅ This ensures none of your previous scan records are hidden due to a date filter.
Group Exercise
Open the app and select the silhouette icon in the upper right-hand corner of the home screen. Logging in through the app gives you access to member-exclusive content and enables biometric login (Face ID or fingerprint) for quicker access to the “My Account” tile.
You can also log in directly through the “My Account” tile; however, you will be prompted to enter your username and password each time. If you do not know your password or having trouble logging in, call or visit the Member Services desk for a password reset.
Select the “My Account” tile to aces your member portal. Then locate the “My Upcoming Classes” block and select the “Class Schedule” button. You can now use the “Class Filters” to search for classes by date or category. To enroll in a class, select the class and click “Sign Up.” On the next page, select “Continue” to confirm registration.
Members can enroll in a class up to four days in advance.
Registration Schedule
Sunday: Opens for Thursday classes
Monday: Opens for Friday classes
Tuesday: Opens for Saturday classes
Wednesday: Opens for Sunday classes
Thursday: Opens for Monday classes
Friday: Opens for Tuesday classes
Saturday: Opens for Wednesday classes
Registration Times
Registration opens in staggered time slots based on the class start time.
Classes starting on the hour (e.g., 9:00 a.m.) opens at 8:00 p.m.
Quarter-hour (e.g., 11:15 a.m.) opens at 8:15 p.m.
Half-hour (e.g., 1:30 p.m.) opens at 8:30 p.m.
Three-quarter hour (e.g., 5:45 p.m.) opens at 8:45 p.m.
For more information or assistance, please call 734.975.9950 or visit the Member Services desk.